Custom boxes with logo artwork do more than hold a product. They introduce your brand before the customer touches the item inside. When a parcel lands on a doorstep, the box makes the first impression, and a clear logo turns that moment into a memory. This guide shows you how to design custom boxes with logo details that stay in your customers’ minds. You will learn how to plan the layout, choose colours, pick materials, and prepare print ready files. Each section gives you one clear action, so you can brief a printer with confidence.
Why Custom Boxes with Logo Designs Build Brand Memory
Customers remember what they see often and what they feel strongly. Custom boxes with logo placement give you both. The box travels through delivery routes, sits on shelves, and appears in unboxing videos. Every appearance repeats your brand mark. Shoppers often link good packaging with product quality, and many of them share their unboxing online. Boxes with logos also help customers remember where they bought an item. When they want to reorder, they recall the box and search for your name. A plain brown carton gives them nothing to hold onto, while a well branded box gives them a reason to talk about you.
Start with a Clear Brand Brief
Before you open a design tool, write a one page brief. List your brand values, your target customer, and the feeling you want the box to create. A luxury skincare brand needs a calm, minimal look. A children’s toy brand needs bright colour and playful shapes. Your brief keeps every later decision consistent. Add your product dimensions, your shipping method, and your budget. Printers need these details to quote accurately. A strong brief makes custom boxes with logo projects run faster. If you plan to order custom boxes with logo printing in several sizes, list every size now. This step saves you from redoing artwork later.
Choose a Box Style That Fits Your Product
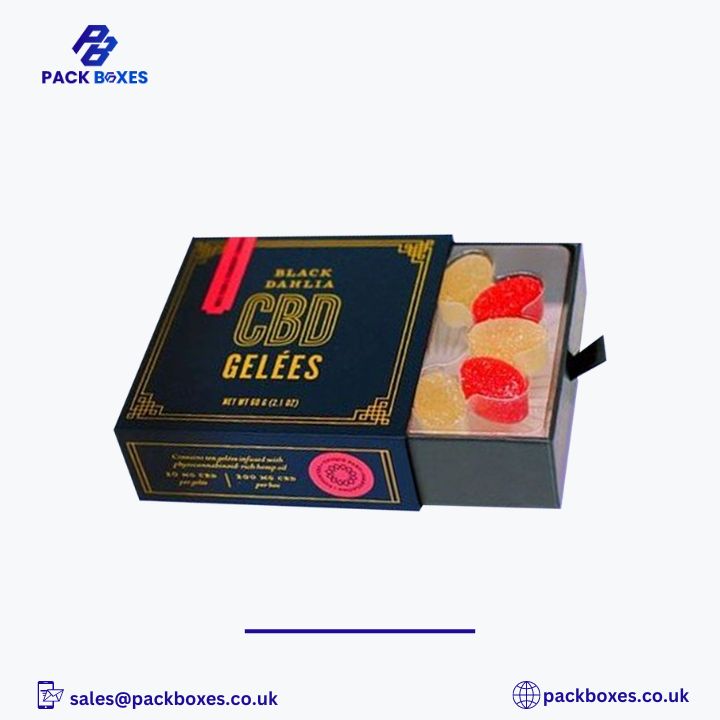
Style shapes the first touch. Mailer boxes suit online stores because they ship flat and open with a tuck flap. Rigid boxes with magnetic lids suit gifts, jewellery, and electronics. Folding cartons suit cosmetics, food, and supplements on retail shelves. Shipping cartons suit heavy or fragile goods. Both mailers and rigid boxes with logos give you a strong canvas for branding. A mailer works well for custom boxes with logo artwork on the inside lid, which gives the customer a second brand moment at the reveal. Pick the style first, because it decides where your logo can sit.
Place Your Logo Where Eyes Land First
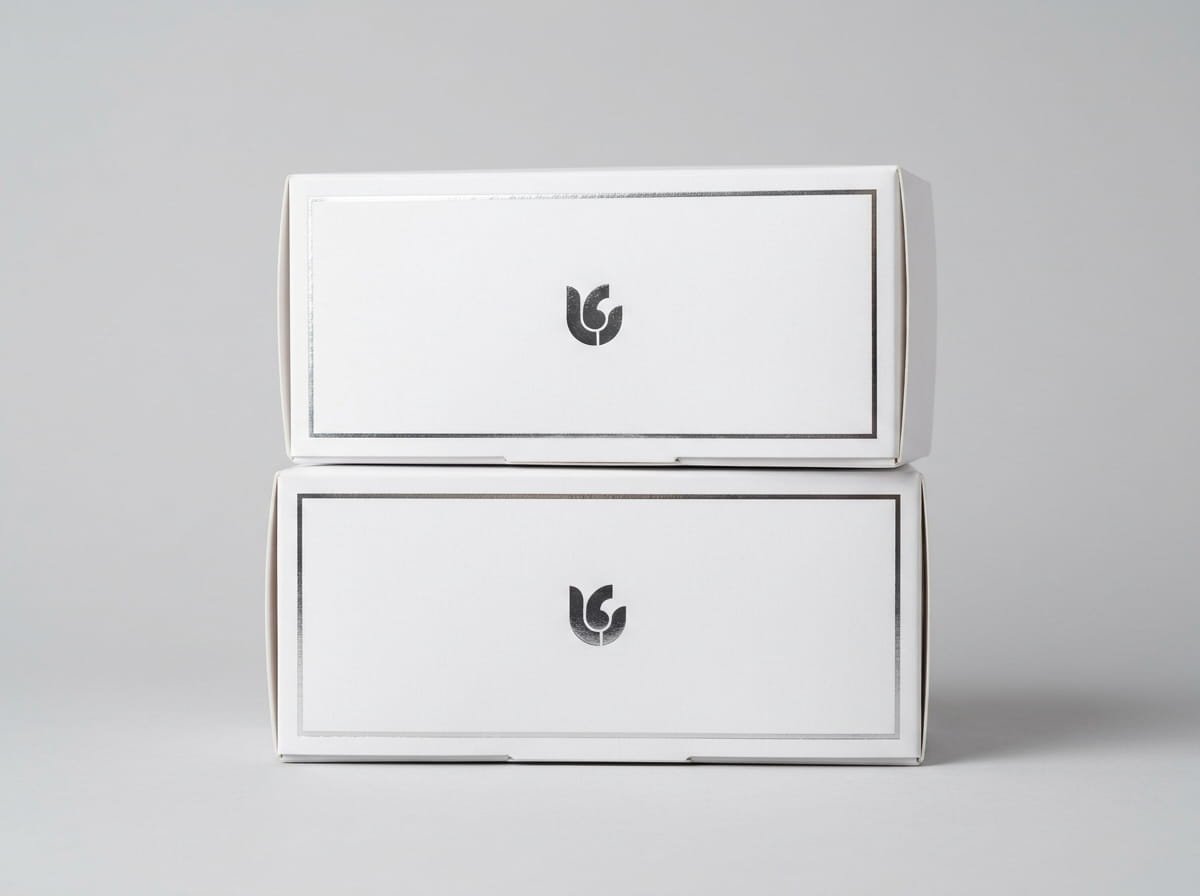
Placement decides whether customers notice your mark. On a mailer, the top face draws the most attention, so centre your logo there or slightly above centre. Leave generous space around it. A crowded lid hides the logo, while white space makes it stand out. On retail cartons, shoppers look at the front panel at eye level, so place the logo in the upper third. Repeat a smaller version on the side or inside flap. Many boxes with logos fail because designers shrink the mark to fit more text. Keep the logo large enough to read from an arm’s length away. Strong custom boxes with logo layouts give the mark room to breathe.
Use Colour to Make Boxes with Logos Recognisable
Colour triggers recognition faster than shapes or words. Pick one main brand colour and one or two supporting shades. Use your main colour for the box body or a bold band, and let the logo contrast against it. Check contrast carefully. A pale logo on a cream box disappears, while a white logo on deep navy stands out. Screens glow and paper does not, so your on screen colours will print duller. Request a physical proof before you approve a run. Use Pantone references when your brand colour matters, because spot colours stay consistent across batches. Consistent colour across every order of custom boxes with logo designs trains customers to spot your parcel from across the room.
Pick Typography That Supports Your Logo
Your logo carries the main message, so the text on the box should support it and never compete. Choose one or two typefaces that match your logo style. Keep body text short. A tagline, a website, and one care instruction usually do the job. Use sentence case for a friendly tone and capitals for a bold tone. Make sure the smallest text stays readable at print size. Eight point type works for legal details, but a tagline needs at least twelve points. When you add a message to custom boxes with logo designs, write one warm line that sounds like your brand voice.
Select Materials and Finishes That Feel Premium
Touch matters as much as sight. Kraft board gives an earthy feel and prints well in one or two colours. White coated board gives sharp colour and suits detailed artwork. Corrugated board protects goods in transit. Rigid greyboard wrapped in printed paper feels luxurious. Premium custom boxes with logo finishes start with the right board, so choose it before you pick any effects.
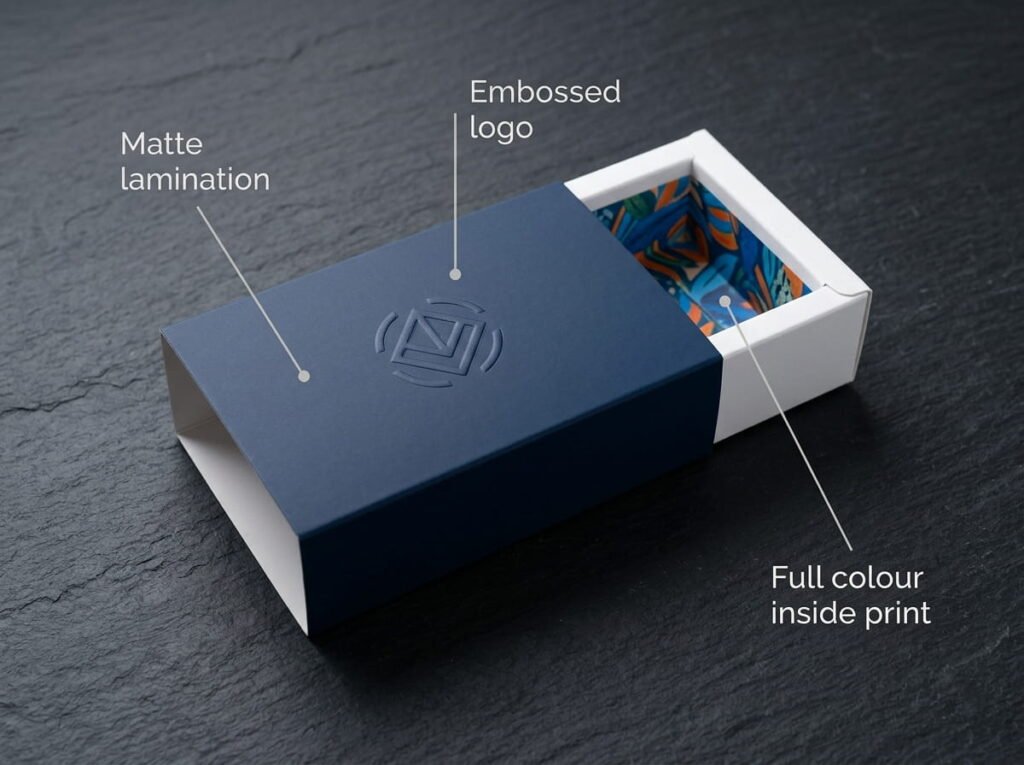
Finishes add another layer. Matt lamination gives a soft, modern look. Gloss lamination makes colours shine. Soft touch lamination feels velvety and makes customers pause. Spot UV varnish makes the logo glossy against a matt background, which draws the eye straight to it. Foil stamping in gold or silver adds shine for premium products. Embossing raises the logo so customers feel it with their fingertips. The best boxes with logos use one standout finish on the logo and keep the rest simple, because too many effects reduce impact.
Choose a Print Method for Boxes with Logos
Printing method affects quality and cost. Digital printing suits short runs and detailed artwork, and it lets you test a design before you commit to a large order. Offset lithography delivers sharp, consistent colour for larger runs and costs less per box as quantity rises. Flexographic printing suits corrugated shipping boxes with simple logos and one or two colours. Screen printing lays a thick, opaque ink layer on dark materials. Ask your printer which method fits your artwork and quantity. A good printer explains the trade offs honestly and suggests the most cost effective route to high quality custom boxes with logo printing.
Prepare Files for Custom Boxes with Logo Orders
Bad files cause delays and poor print quality. Send your logo as a vector file, such as AI, EPS, or a PDF with outlined text. Vector files scale to any size without blur. Set the document in CMYK colour mode, not RGB. Add three millimetres of bleed beyond the cut line so no white edges appear. Keep important content at least five millimetres inside the fold lines. Ask the printer for a dieline template and place your artwork directly on it. Convert fonts to outlines and embed images at 300 dpi. Clean files let the printer start production fast and protect the quality of your custom boxes with logo order.
Create an Unboxing Moment Around Your Logo
The unboxing experience turns a purchase into a story. Print your logo on the outside, then add a pattern, a message, or a thank you note on the inside. Add tissue paper stamped with your logo, a branded sticker, or a sleeve. Keep the layers simple so the customer feels a gentle reveal. Customers who enjoy the moment often photograph it, and that photo shows your logo to their friends and followers. Boxes with logos that include a small surprise, such as a discount card, encourage sharing and repeat orders. Custom boxes with logo packaging that feels personal earns loyalty.
Balance Cost, Quantity, and Quality
Budget shapes every packaging decision, so plan it early. Unit price drops as quantity rises, but storage space and cash flow matter too. A new brand might order a few hundred boxes with logos on digital print, test the response, and scale to offset printing later. Custom boxes with logo orders cost less per unit as volume grows, so ask for quotes at several quantities. Include tooling costs, such as a cutting die, in your comparison. Reduce cost by limiting ink colours, choosing a standard box size, and skipping unnecessary finishes. Never cut costs on the logo area, because customers look there first.
Consider Sustainable Custom Boxes with Logo Printing
Many customers care about waste, so sustainable packaging strengthens your brand. Choose recycled board, FSC certified paper, and water based inks. Skip plastic lamination and use aqueous coating or a paper based finish instead. Design the box to fit the product closely, which cuts material and shipping weight. Tell customers how to recycle the box with a small icon and a short line. Eco friendly custom boxes with logo designs show your values without a long speech.
Avoid Common Mistakes with Boxes with Logos
Several errors repeat across orders. Brands approve designs without a physical proof, then dislike the colour. They place the logo across a fold, which splits the mark. They choose a box that fits too loosely, so the product rattles. They forget to check that a barcode or legal text prints in the right spot. They also change the logo between orders, which weakens recognition. Test one sample, check every panel, and confirm the dieline before you place a large order of custom boxes with logo artwork.
Turn Your Packaging into a Memory
Memorable packaging comes from clear decisions. Write a brief, pick a fitting style, place the logo with care, and keep colour and type consistent. Choose materials and finishes that feel good in the hand, and send clean files to a printer you trust. Well made custom boxes with logo designs make customers smile, share, and reorder. Start with one sample, test it with real customers, and refine from their feedback. Strong boxes with logos reward you every time a parcel arrives.
FAQs: Custom Boxes with Logo
What are custom boxes with logo?
Custom boxes with logo are packaging boxes that carry your brand mark, colours, and messages. Printers produce them in your chosen size, material, and style. Brands use them to protect products, create a branded unboxing, and make customers remember the business.
How much do custom boxes with logo cost?
Prices depend on quantity, size, material, print method, and finish. Digital printing keeps short runs affordable, while offset printing lowers the unit price on large orders. Request quotes at three quantities to compare price breaks before you order.
What file format should I send for logo printing?
Send a vector file such as AI, EPS, or a PDF with outlined fonts. Use CMYK colour mode, add three millimetres of bleed, and place the artwork on the printer’s dieline. Vector files keep the logo sharp at every size.
What is the minimum order for boxes with logos?
Minimums vary by printer and method. Digital printers often accept orders from 50 to 100 boxes. Offset printers usually ask for 500 to 1,000 boxes. Ask each supplier for their exact minimum.
Which finish makes a logo stand out most?
Spot UV varnish and foil stamping make a logo stand out most. Spot UV adds gloss to the logo against a matt box, and foil adds a metallic shine. Embossing adds a raised texture that customers can feel.
How long does it take to receive custom boxes with logo printing?
Most orders arrive within two to four weeks after proof approval. Digital runs finish faster, and rigid boxes with special finishes take longer. Confirm the delivery date in writing before you pay.