Custom packaging design turns a plain box into a tool that protects your product, explains it and sells it. Good packaging design does not start with colours or fonts. It starts with questions about the product, the buyer and the journey from warehouse to doorstep. Many brands skip those questions, jump straight to artwork and then pay for reprints when the box does not fit or the print looks wrong. This guide walks you through packaging design in seven practical steps, from the first brief to the finished box. Each step covers what to decide, what to prepare and what to check, so your first production run comes out right. Use it as a checklist for a first launch or for refreshing an existing range.
Packaging Design at a Glance: The 7 Steps
Here is the short version of the packaging design process.
- Write a clear design brief.
- Research your buyer, market and competitors.
- Choose the box structure and size.
- Select materials and print method.
- Create the artwork on the supplier’s dieline.
- Prototype, proof and test.
- Approve production and run quality checks.
Each step feeds the next. A strong brief makes research faster, research guides structure, and structure decides what artwork space you have. Follow the packaging design steps in order and you avoid most costly surprises.
Step 1: Write a Clear Design Brief
Every successful packaging design project starts with a brief. This short document keeps you, your designer and your supplier on the same page. Write down what the product is, its exact size and weight, and where you will sell it. A box for a retail shelf needs strong front branding, while a box for online orders needs to survive courier handling and look good on opening.
Add your budget per unit, your target order quantity and your launch date. Note any must have elements such as your logo, brand colours, barcode or legal text. Finally, describe the feeling you want customers to get. Words like “calm and natural” or “bold and playful” give your designer a direction. A one page packaging design brief can save weeks of back and forth later.
Step 2: Research Your Buyer and Your Market
Packaging design works best when it speaks to a specific person. Think about who buys your product, what they value and where they first see it. A young skincare buyer scrolling on social media reacts to different cues than a gift shopper in a department store.
Next, study your competitors. Visit shops, browse marketplaces and order a few rival products if you can. Note common colours, box styles and finishes in your category. You want to fit the category enough that buyers understand what you sell, yet stand out enough that they notice you. If every competitor uses white boxes with pastel accents, a deep colour with a single metallic detail may catch the eye. Keep notes and photos, because they feed straight into your packaging design decisions in the next steps.
Step 3: Choose the Box Structure and Size
Structure comes before artwork in packaging design because the shape decides where your graphics can go. Common box styles include:
- Tuck end boxes: folding cartons that close with tuck flaps. They suit cosmetics, supplements and small retail products.
- Mailer boxes: sturdy corrugated boxes with a hinged lid, popular for ecommerce and subscription orders.
- Rigid boxes: thick, non folding boxes wrapped in printed paper, used for luxury goods and gift sets.
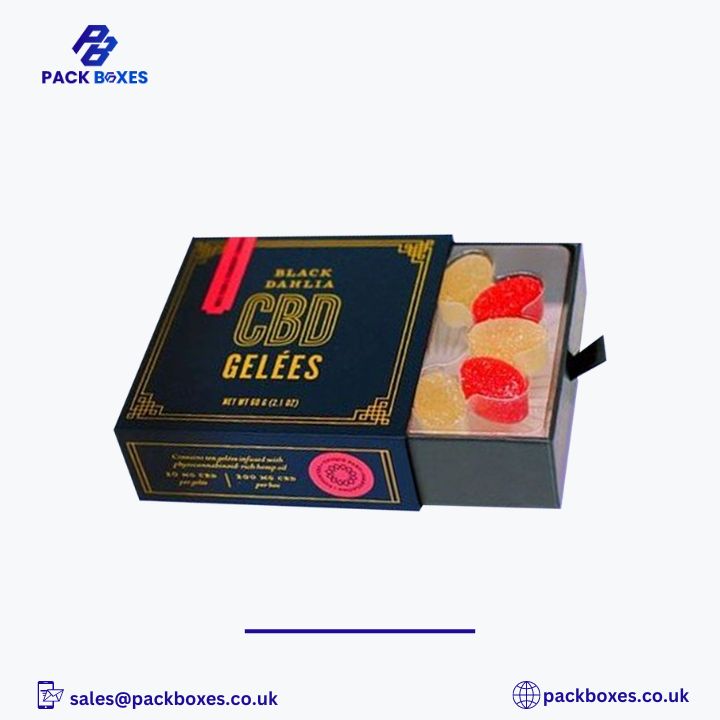
- Sleeve and tray boxes: a sliding tray inside an outer sleeve, which creates a neat reveal.
- Pillow boxes: curved boxes for small, light items such as favours, jewellery and accessories.
- Display boxes: counter units that hold several products at the till.
Size the box around the product, not the other way round. Measure the product’s inner packaging, add space for any insert, and keep extra empty space to a minimum. A close fit protects the product, uses less material and can lower shipping costs. Your packaging design should start from these exact inner dimensions.
Step 4: Select Materials and Print Method
Your material choice affects strength, print quality, cost and sustainability. Folding boxboard gives a smooth white surface for sharp print on retail cartons. Kraft board offers a natural brown look that suits eco brands. Corrugated board adds strength for shipping, with thinner flutes such as E flute often used for printed mailer boxes. Rigid greyboard wrapped in paper gives the weight and feel of luxury packaging design.
Next, pick a print method. Digital printing suits short runs and quick turnarounds. Offset litho printing gives high quality, consistent colour on larger runs. Flexographic printing suits long runs on corrugated board. Ask your supplier which method fits your quantity and material.
Think about finishes at this stage too. Foil stamping, embossing, debossing, spot UV and soft touch lamination all add impact, but each affects cost and lead time. Good packaging design usually picks one or two finishes and uses them with purpose.
Step 5: Create Artwork on the Dieline
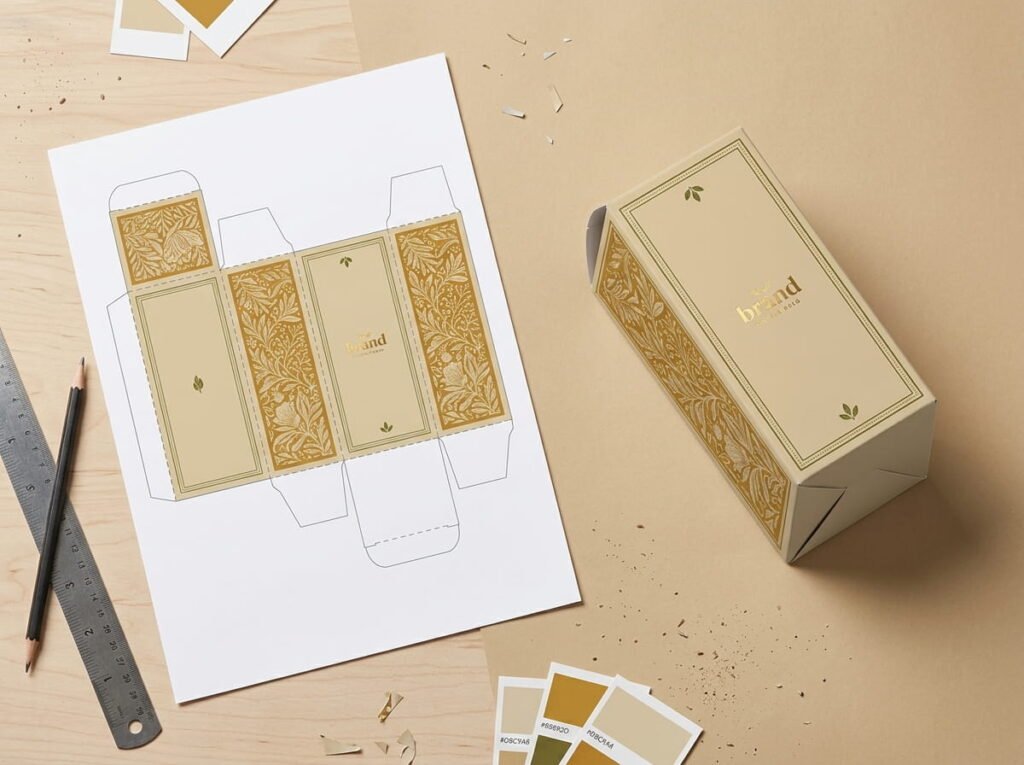
A dieline is the flat template of your box. It shows every panel, fold line, cut line and glue area. Always ask your supplier for the dieline first and design directly on it. Designing on a guessed template is the fastest way to ruin a packaging design project.
Keep these technical rules in mind:
- Bleed: extend background colours and images past the cut line, commonly by 3mm, so no white edges appear after cutting.
- Safe zone: keep text and logos well inside the cut and fold lines so trimming does not clip them.
- Colour mode: set print files in CMYK, not RGB, because screens and printers produce colour differently. Use Pantone references when you need an exact brand colour match.
- Resolution: place images at 300 dpi at final size for sharp results.
- Vector files: supply logos and text as vector artwork, usually in AI or PDF format.
Plan the information hierarchy too. Put your brand and product name on the front panel, then benefits, directions, ingredients, barcodes and recycling symbols on the side and back panels. Check the labelling rules for your product category, since cosmetics, food and supplements all carry specific legal requirements. Clear hierarchy separates professional packaging design from cluttered boxes.
Step 6: Prototype, Proof and Test
Never approve packaging design from a screen alone. Ask for a digital proof first and check every word, number and barcode. Spelling mistakes on a printed run cost far more to fix than on a PDF.
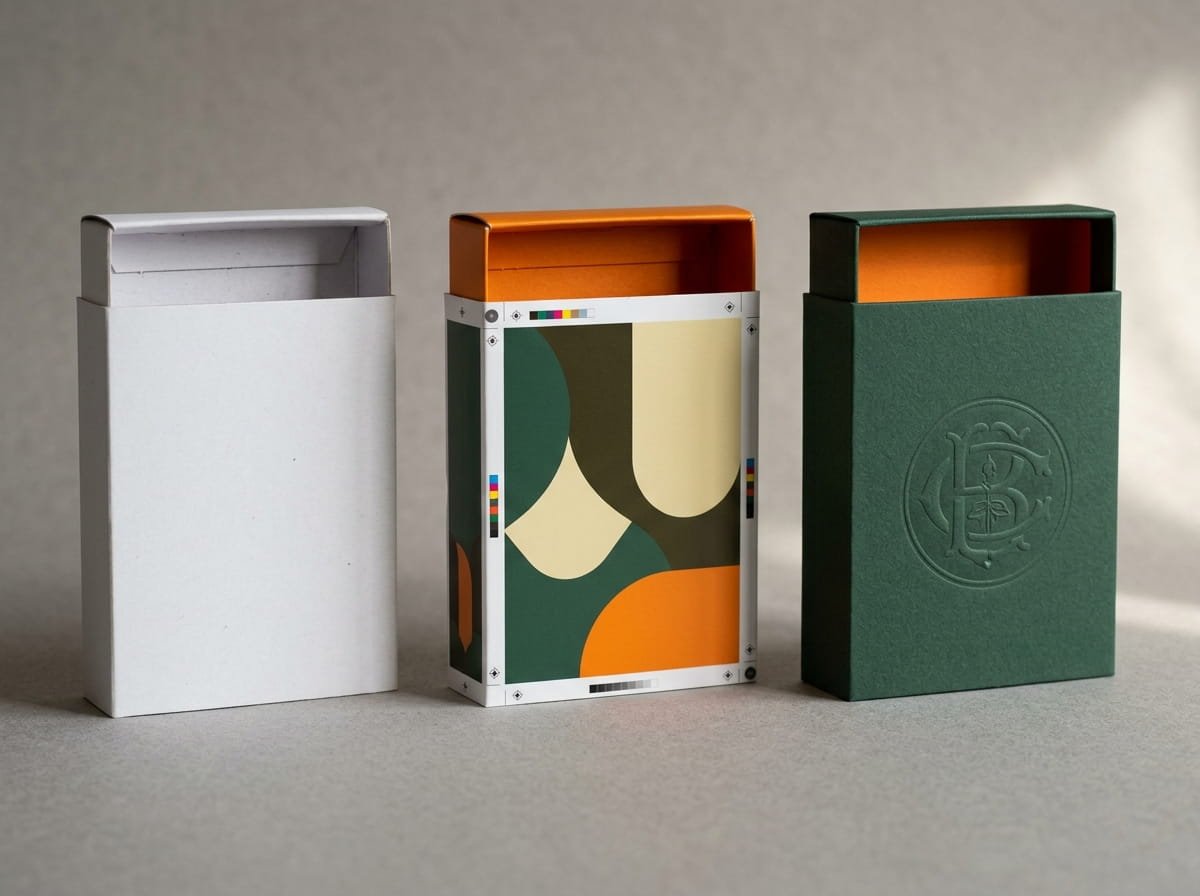
Then order a physical sample or prototype. A plain white mock up shows whether the structure fits your product. A printed sample shows how colours, finishes and materials look in real light. Colours often appear slightly different on board than on a monitor, especially on kraft or textured stock. Place the product inside, open and close the box several times, and look at it from a shopper’s distance. If the box will ship, pack it and post it to yourself. These simple tests catch most packaging design problems before they reach thousands of customers.
Step 7: Approve Production and Check Quality
Once the sample looks right, give your written approval on the final proof. Confirm the quantity, finishes, delivery address and timeline with your supplier. Ask how they check colour and cutting accuracy during the run.
When the order arrives, inspect a selection of boxes from different cartons. Check print colour, registration, folds, glue lines and finish quality against the approved sample. Report any issues straight away with clear photos. Keep the approved sample and final files on record, because they make reorders faster and keep your packaging design consistent across every batch.
Common Packaging Design Mistakes to Avoid
- Designing before choosing the structure. The artwork will not fit the panels.
- Ignoring the dieline. Text ends up on folds or gets cut off.
- Using RGB files. Bright screen colours print dull.
- Overloading the front panel. Too much text hides the brand and product name.
- Choosing too many finishes. Foil, emboss and spot UV all at once can look busy and add cost.
- Skipping the sample. Small fit or colour issues become expensive at full volume.
Packaging Design Tips for Small Brands
Small brands often work with tight budgets and low order quantities, but strong packaging design is still within reach. Start with one hero box style across your range and change only the colour band or label for each product. This keeps tooling costs down and builds a recognisable look on the shelf. Digital printing makes short runs affordable, so you can test a design with a small order before you commit to larger volumes.
Keep the palette simple. Two or three colours with one metallic accent often look more premium than a busy full colour print, and they reproduce more consistently from batch to batch. Use the inside of the box for a short thank you message or care tips, since buyers notice it when they open the lid. Finally, save every approved file, colour reference and supplier note in one shared folder. Organised files make reorders quick and keep your packaging design consistent as your range grows.
How Packaging Design Supports Sustainability
Sustainable choices start at the packaging design stage, not after printing. Right sizing the box cuts material use and shipping volume. Choosing a single material, such as card with a card insert, makes it easier for customers to recycle. Clear recycling labels tell buyers what to do with the box. UK businesses should also keep an eye on packaging rules such as Extended Producer Responsibility (EPR), which places packaging waste costs on many producers. Ask your supplier about recycled content, FSC certified board and recyclable alternatives to plastic laminates. Thoughtful packaging design can lower your costs and support your brand values at the same time.
Final Word
Great packaging design follows a clear path. Start with a brief, learn about your buyer, choose the right structure and materials, design on the real dieline, then test with a physical sample before you approve production. Each step protects your budget and your brand. Treat these seven steps as your custom packaging design checklist, and your next box will look professional, fit your product and arrive in perfect condition. When you are ready, share your brief and product sizes with your packaging supplier and ask for a dieline to begin your packaging design.
Frequently Asked Questions
1. What is packaging design?
Packaging design is the process of planning a product’s box or container, covering its structure, materials, graphics and finishes. Good packaging design protects the product, shares key information and helps it sell.
2. What are the main steps in packaging design?
The main packaging design steps are writing a brief, researching your market, choosing the box structure, selecting materials and print, creating artwork on a dieline, prototyping and proofing, then approving production.
3. What is a dieline in packaging design?
A dieline is the flat template of a box showing cut lines, fold lines, glue areas and panels. Designers place artwork directly on it so the graphics line up correctly when the box folds.
4. How long does custom packaging design take?
A simple custom packaging design can take a few days, while a complex project with several rounds of samples can take several weeks. Clear briefs and quick feedback shorten the timeline.
5. Should packaging artwork be in CMYK or RGB?
Packaging artwork should be in CMYK for print, because printers use cyan, magenta, yellow and black inks. Use Pantone colour references when you need an exact match for brand colours.
6. How much bleed do I need for box artwork?
Many suppliers ask for 3mm of bleed beyond the cut line, but always follow the dieline and instructions your supplier gives you, as requirements can vary.
7. Which box style is best for ecommerce?
Corrugated mailer boxes are a popular choice for ecommerce packaging design because they are strong, easy to assemble and print well inside and out.
8. Do I need a physical sample before printing?
Yes. A physical sample shows how the structure, colours and finishes look in real life. It helps you catch fit and colour problems before you approve a full production run.
9. Which finishes make packaging design stand out?
Foil stamping, embossing, debossing, spot UV and soft touch lamination all help packaging design stand out. Most brands get the best result by using one or two finishes with purpose.
10. How can packaging design be more sustainable?
Packaging design becomes more sustainable when you right size the box, use recyclable single material structures, choose recycled or FSC certified board and add clear recycling instructions.